The battle royale genre blew up last year, shortly after the open beta release of PlayerUnknown’s Battlegrounds, better known as PUBG, on PC. The game’s success prompted a number of other developers to release their own battle royale games, each with their own unique twist on the gameplay side of things. Things blew up even further when these games made their way to mobile devices and their free-to-play model played a huge part in making the games so widely popular. Out of the lot, PUBG Mobile currently stands out as the reigning champion, with over a 100,000 downloads on the Google Play Store alone. Now a lot of you will agree that playing any kind of shooting games on a touch screen isn’t all that intuitive and it doesn’t feel as satisfactory as using a mouse and keyboard. But considering the fact that not everyone is willing to pay for PUBG on PC or has a PC powerful enough to run the game, you aren’t left with much of a choice, or so it would seem. So if you’ve been wondering how you can get the best of both worlds, we’ve got you covered. Here’s how to play PUBG Mobile on PC:
Play PUBG Mobile on Your Windows PC
Before we begin with the step-by-step tutorial, let’s get one thing straight – PUBG Mobile doesn’t run on Windows PCs natively and requires an Android emulator to work. While there are quite a few Android emulators for Windows PCs, not all of them are capable enough to run PUBG Mobile, with some facing performance issues and others not supporting accurate key-mapping. Thankfully, developer Tencent Games has released its own emulator – the Tencent Gaming Buddy (download) – that runs PUBG Mobile on Windows PCs without a hitch. Here, we’ll be taking a look at how you can set up the Tencent Gaming Buddy emulator on your PC and highlight the optimal settings that you should use to run the game smoothly.
How to Set Up Tencent Gaming Buddy
The Tencent Gaming Buddy, rightly claimed to be the best-ever emulator for PUBG Mobile, is relatively simple to use. To get started, you’ll need to download the setup file from this link and install the emulator on your Windows PC.
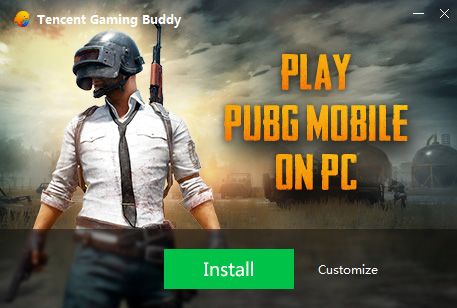
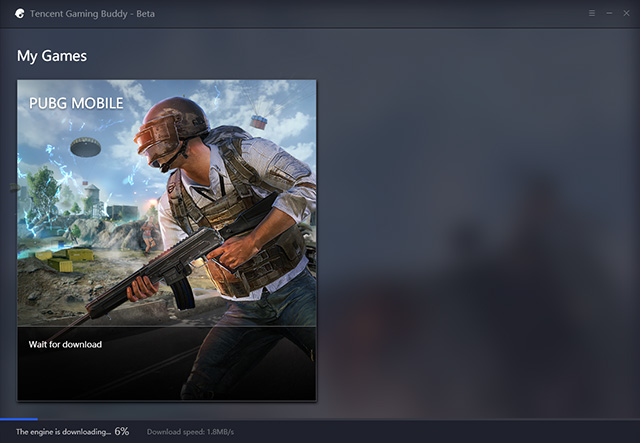
The setup process is quite simple and straightforward; just run the .exe file and the setup wizard will guide you through the process. The setup executable will first install the emulator on your system, after which it will proceed to download PUBG Mobile.
Adjust Emulator Settings for Best Performance
By the time the game downloads, you can set up the emulator to ensure optimal performance on your system as the default settings don’t offer the best performance. To do so, click on the hamburger menu in the top right corner of the emulator home screen and tap on the ‘Settings’ option.
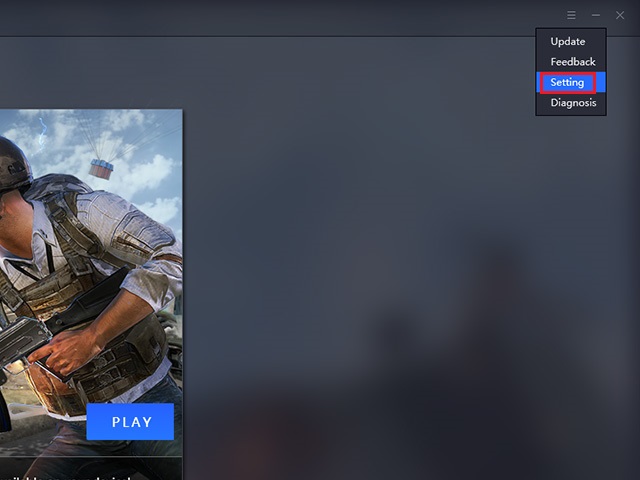
In the settings option, you’ll have to make the following changes to ensure the best performance:
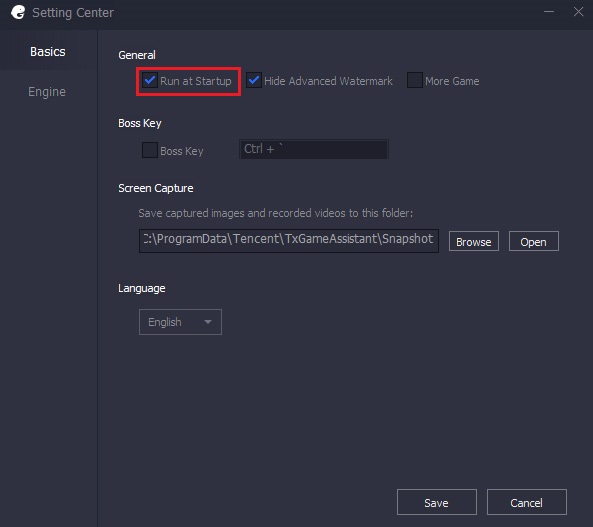
- In the ‘Basics‘ tab of the Setting Center you don’t have to make any significant changes to improve the performance, but you can select if you want to run the emulator at Windows startup or not. The option is turned on by default and in case you have a older PC or don’t have a boot SSD, I would recommend that you turn off the option so that the emulator doesn’t have any impact on the startup/reboot time of your PC.
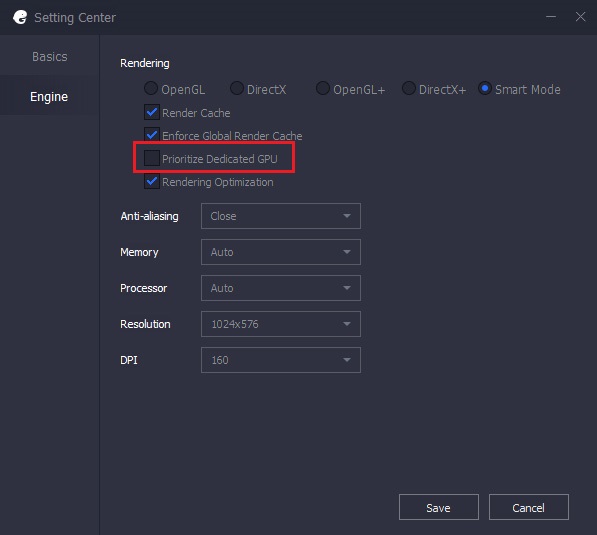
- In the ‘Engine’ tab, you’re need to turn on the ‘Prioritize Dedicated GPU’ setting to ensure that the emulator makes use of the dedicated GPU on your system which will greatly improve the performance. If you don’t have a dedicated GPU, turning on the setting will have no effect on the performance.
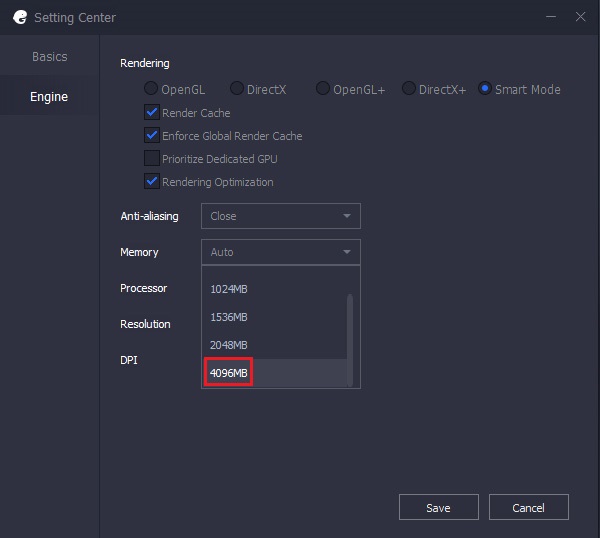
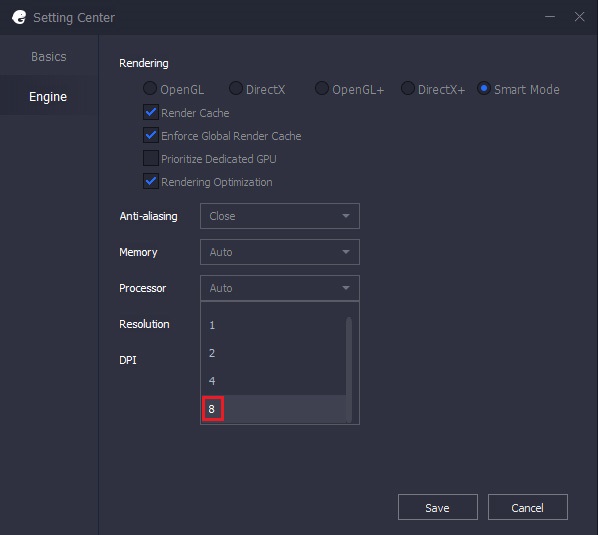
- Select the highest memory setting available in the ‘Memory’ drop down menu, select the maximum number of cores available in the ‘Processor’ drop down menu and set the resolution as per your personal preference.
In my testing I also found that selecting the lowest possible DPI from the ‘DPI’ drop down menu also has a positive impact on the performance. Once you’re done changing the settings, you’ll need to restart the emulator for the settings to take effect, but make sure you restart after the download is complete or you might have to start downloading the game from scratch.
Adjust In-Game Settings for Best Performance
Now that you’ve got the game downloaded and have already applied the optimal settings, you can run the game. The first time you start the game, you’ll see a controls panel to the right of the emulator which will list down all the keyboard and mouse controls to play the game. While most PC gamers will be familiar with the controls, if you’ve never played a shooting game on your PC before, I would strongly advise you to go through the controls and memorize them as well as you can. The panel can easily be hidden when not in use.
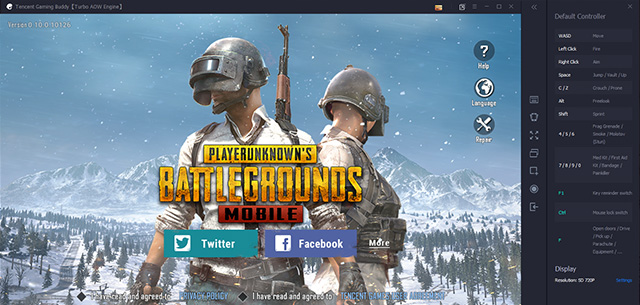
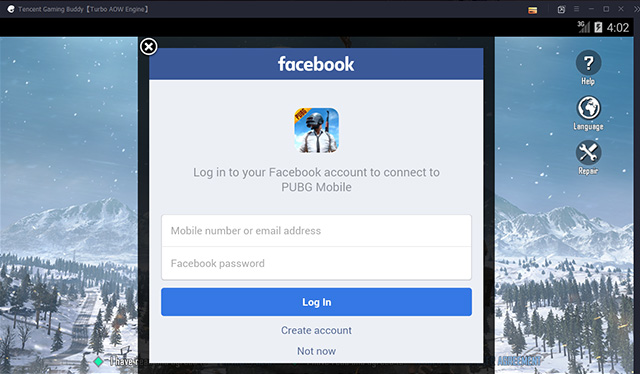
You can now log in to your Twitter or Facebook account to sync your PUBG Mobile data or play as a guest if you don’t want to log in to your account. Do note that if you log in with the same credentials that you used on your phone, all your PUBG Mobile account data will be carried forward to the emulator and the stats will remain synced up no matter which platform you play the game on.
One you’re logged in, you can customize the in-game settings as per your preference and in accordance with your system’s capabilities. My system has an Intel Core i7-7700HQ, coupled with an Nvidia GeForce GTX 1050Ti and 16GB of RAM and I use the following settings:
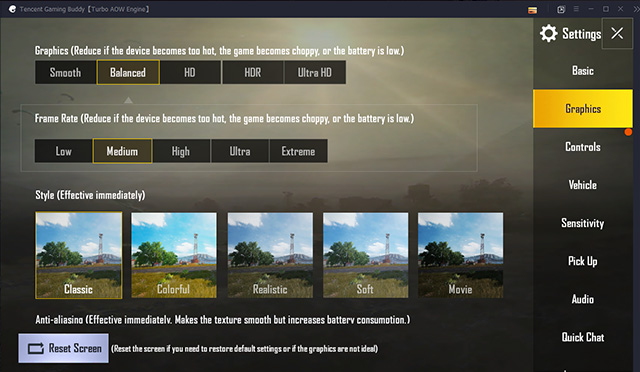
With these settings, the game runs rather well on my system with minor stutters and lag here and there, which is to be expected since we’re running the game on an emulator. Don’t expect the game to run as well as it would run on a high-end smartphone, even if you have high-end hardware powering your PC. Since the Tencent Gaming Buddy emulator is still in beta, it has its own fair share of issues.
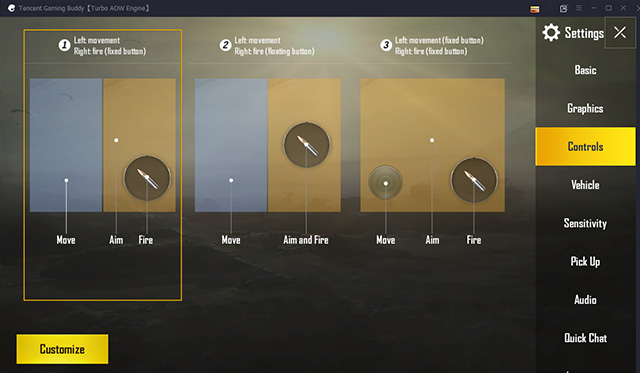
You might also want to change the controls as per your liking, by clicking on the ‘Customize’ button in the bottom left corner of the ‘Controls’ tab in the in-game settings menu.
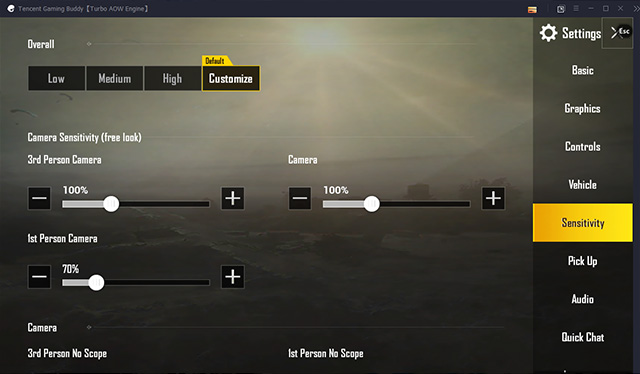
Another thing you might want to adjust before playing any games is the sensitivity. In my experience, the default sensitivity settings are a bit too sensitive for my liking and I lowered them down considerably to make camera panning, ADS and scope sensitivity a bit more manageable.
Once you’re done customizing everything as per your liking, you can jump right into a game and have fun playing PUBG Mobile on your PC. Do note that in order to keep the playing field level, players using an emulator will only be matched with other players using an emulator and even though the game allows you to enter matches with your friends who are playing on mobile devices, your friends might find themselves at a significant disadvantage going against players using a keyboard and mouse.
SEE ALSO: PUBG Mobile vs PUBG Mobile Lite: A Thrilling Experience on Low-End Phones?
Play PUBG Mobile on Your PC and Grab That Chicken Dinner
Well, that rounds up how to play PUBG Mobile on your PC. The Tencent Gaming Buddy is undoubtedly the best emulator to run PUBG Mobile out there and even though there are a couple of other popular Android emulators like Bluestacks and Nox, they don’t offer the same relatively fluid gameplay experience you’d get with the Tencent Gaming Buddy. If you’re gonna be using other emulators, you might also experience some issues with the controls and the control mapping, so it’s best that you stick with the Tencent Gaming Buddy if PUBG Mobile is all that you wish to play. The other emulators might be better off for some other games, but they aren’t good for playing PUBG Mobile.
So, now that you know how to play PUBG Mobile on PC, do you think you’ll be able to improve your gameplay and ranking in the game? Share your experiences with the Tencent Gaming Buddy in the comments down below and in case you face any issues, we’ll do our best to offer solutions to whatever problems you might face while running PUBG Mobile on your PC.
from Beebom https://beebom.com/play-pubg-mobile-pc/

No comments:
Post a Comment